
Preparation cannot turn a poor source into verified detail, but it can prevent avoidable loss and show whether enhancement is worth attempting. The first task is to locate the best available original and document what is already missing.
Find the earliest, largest source
Search the camera archive, design package, shared drive and prior delivery before downloading an image from a page or presentation. Ask whether a raw file, scan or less compressed export exists. Every additional resize and lossy save narrows the information available.
Keep the chosen source unchanged and record its origin, dimensions, colour profile, format and known edit history. The Library of Congress format resources can help teams reason about disclosure, sustainability and quality when selecting preservation and working formats.Library of Congress format guidance ↗
Diagnose before cleaning
Inspect focus, motion blur, compression blocks, clipping, banding, noise and colour casts. Mark areas containing identity, text, products or repeated structure. Decide which defects can be reduced and which missing details must remain uncertain.
If the image is a scan, evaluate whether rescanning is possible. FADGI technical guidance emphasises capture systems and quality management, a useful principle because better acquisition is usually safer than aggressive reconstruction.FADGI technical guidelines ↗
Make conservative corrections first
Work on a derivative. Correct orientation and crop only when the intended composition is known. Apply modest deblocking, dust cleanup or tonal adjustment before scaling, comparing each step with the source. Avoid multiple global filters that hide which operation changed the image.
Do not sharpen heavily before enlargement. Sharpening can amplify block edges and noise. Reserve output sharpening for the final size and medium, after the structure has been reviewed.
Run a small viability test
Test one difficult crop and one representative crop using a neutral setting. Review them at final use size and 100 percent. If protected details change or defects dominate, stop and reconsider the placement, composition or need for a reshoot.
Record the chosen source and preparation steps in the brief. This prevents a later operator from starting with an inferior derivative and gives reviewers a truthful baseline.
Conduct a time-boxed source search
Give the search an owner and a short deadline. Check original photographer deliveries, DAM records, layout links, cloud version history, email attachments and physical material that can be rescanned. Record what was checked so another person does not repeat the same search without learning anything.
Compare candidate files by actual dimensions, compression, crop, colour and visible detail, not filename alone. A larger file can be a previously enlarged derivative. Use edge and noise patterns, metadata and archive context to identify the earliest credible source.
Prepare a scanned print with restraint
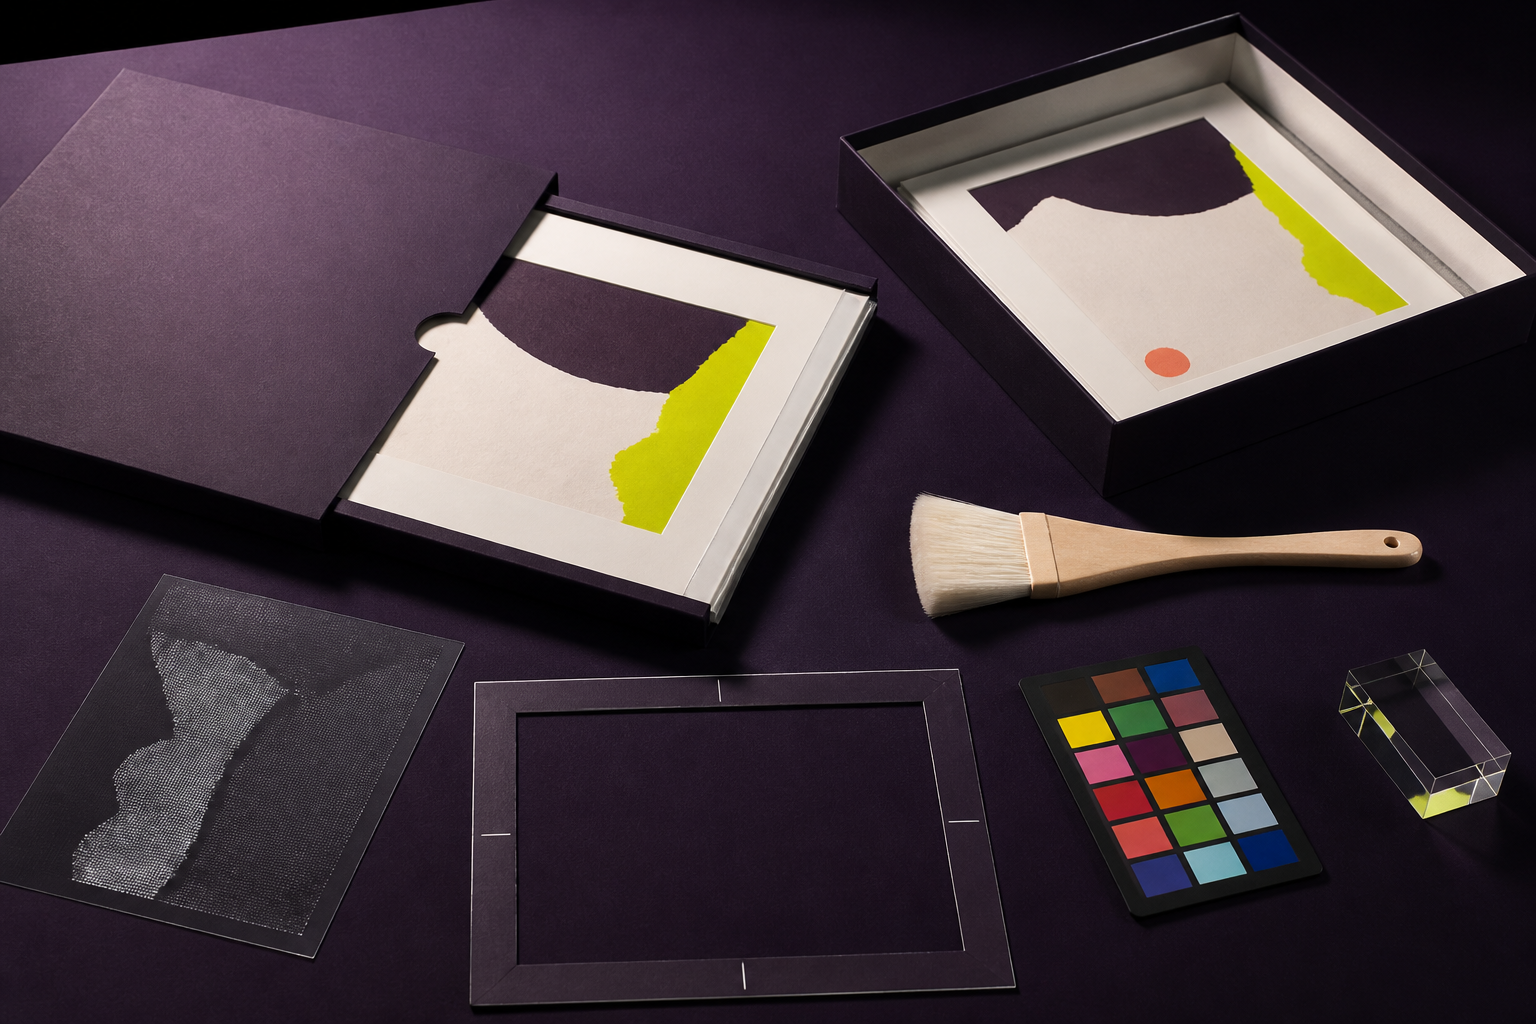
If the source is a physical print, clean the scanner bed and capture at a resolution appropriate to the print detail. Include colour or tonal references when the project requires controlled reproduction. Save a minimally processed preservation scan before removing dust, borders or fading.
Distinguish marks on the print from marks in the depicted scene. A scratch across the surface may be removable; a line that belongs to the photographed object is evidence. When uncertain, retain the feature in the preservation master and document any interpretive cleanup in a separate derivative.
Write a short viability report
Show the source at intended size, the neutral test and close views of protected details. State which defects improved, which remain and which details became uncertain. Recommend enhancement, smaller placement, alternate crop, redesign or reshoot.
This report prevents the most visually appealing test from becoming approval by momentum. It also helps the client compare production cost with risk. A clear no can be a successful enhancement assessment when it stops a misleading asset from entering a campaign.
A practical decision table
| Finding | Safe preparation | Escalate when |
|---|---|---|
| Compression blocks | Conservative deblocking test | Text or identity changes |
| Dust or scan marks | Reversible local cleanup | Original can be rescanned |
| Missing detail | Preserve uncertainty | The placement requires factual clarity |
Release checklist
- Search for the original
- Record source provenance
- Check dimensions and profile
- Preserve an untouched copy
- Map visible defects
- Identify protected details
- Prefer rescanning when possible
- Make reversible corrections
- Test a difficult crop
- Set a stop condition
Common questions
Should a small JPEG be converted to TIFF first?
A lossless working copy prevents further JPEG loss, but it does not restore information already discarded.
When should preparation stop?
Stop when the intended use cannot be met without inventing or misrepresenting a protected detail.